Retail's Old Playbook Is Broken: How SMB retailers Can Win Today
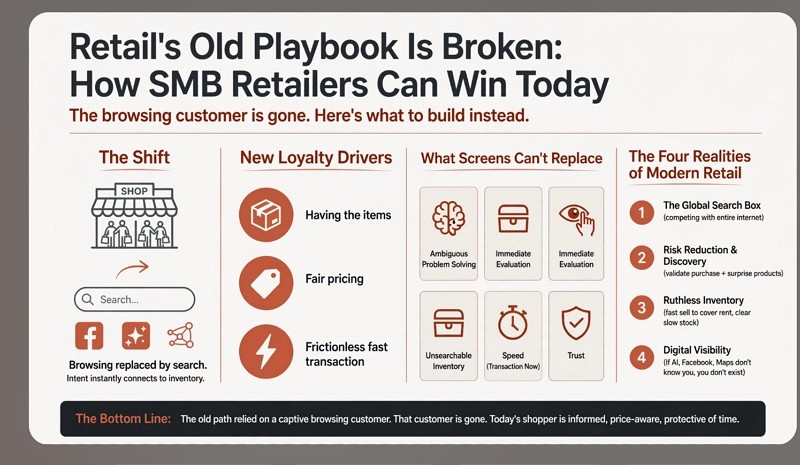
The browsing customer is gone. Here's what small retailers must build around instead. The traditional retail journey used to follow a predictable map. A customer had a need, went to a nearby shopping centre, spoke with a few knowledgeable salespeople, and made a purchase after some market research.
Today, Google, Facebook and AI have hollowed out this path.
The browsing phase, once the bread and butter of brick-and-mortar shops, has been largely replaced by a search query. Many shoppers, before going shopping, have researched. They have compared prices and read product advice on their phone. This is not a marginal shift. It is the removal of the sales stage that most physical shopfronts were built around.
Because search engines can instantly connect intent with inventory, the traditional reasons many customers walk into physical stores are shrinking.
Paradoxically, it allows stores to sell items they never carried. This is because they know that Google search will attract buyers.
However, this shift creates a unique challenge for SMB retailers who rely on selling everyday goods that customers already know well.
Redefining the SMB Value Proposition
Many independent retailers tell themselves their primary advantage is building a close, personal relationship with their customers. I am not so sure. Our current high retail staff turnover means many consumers rarely get to know your people in your shop.
Today, customer loyalty is driven by:
- Having the items.
-Pricing that feels fair.
-A frictionless, fast transaction.
What Screens Can't Replace
The internet excels at answering "What is the cheapest option?" and "Where can I buy this right now?"
However, it remains entirely blind to things requiring human observation, taste, smell, and physical judgment. Most of us have ordered an item online based on glowing reviews, only to open the box and realise it is completely useless for our specific needs. Just seeing the items might have cancelled the purchase.
This gap is where physical retail must thrive. SMB retailers must deliberately build their business models around that screen for what it can and what it cannot do:
Ambiguous Problem Solving
Expert advice on nuanced, non-standard customer dilemmas.
Immediate Evaluation
Allowing customers actually to see and handle the product.
Unsearchable Inventory
Having unique and unexpected items that a customer wouldn't think to type into a search box. This is important.
Speed
You can do the transaction now.
Trust
Earning credibility through consistent quality, fair pricing, and quick and easy processing of transactions.
The Four Realities of Modern Retail
To survive, independent retailers must navigate:
1. The Global Search Box
If a customer can fully specify exactly what they want in a search bar, you are no longer competing with the shop next door; you are competing with the entire internet. You cannot win a digital commodity fight using a nicer shopfront or a friendly smile.
2. Risk Reduction and Discovery
Successful modern retail focuses on reducing decision risk for the customer. Your shop must give them a reason to make the trip, either by validating a high-stakes purchase or exposing them to products they did not know existed.
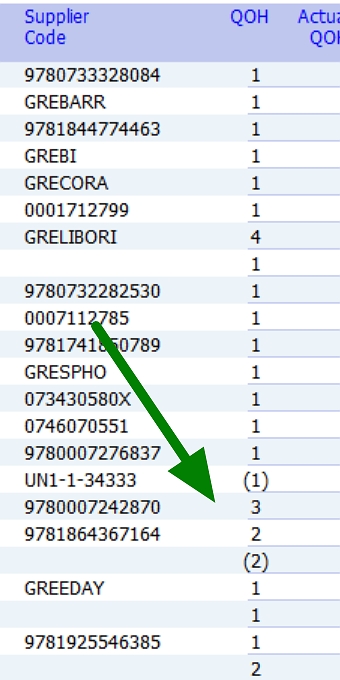
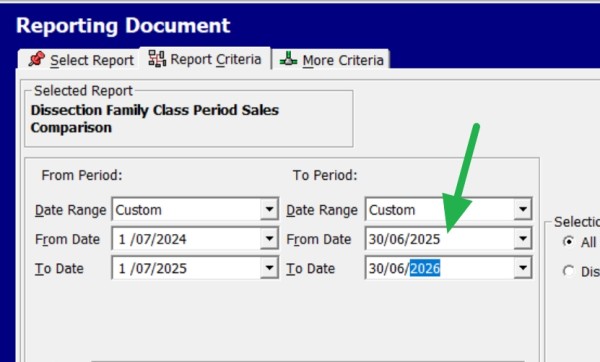
3. Ruthless Inventory
Products need to be converted into sales fast enough to cover rent and wages. Retailers must be disciplined about tracking profit margins and clearing slow-moving stock. The old assumption that "eventually it will sell" kills cash flow.
4. Digital Visibility
If Google business profile, AI assistants, Facebook, local search maps, etc., do not know you, you effectively do not exist to many modern consumers. Digital visibility is the requirement to get many shoppers to your front door.
The Bottom Line
The old retail path relied on a captive, browsing customer. That customer is gone.
Today, many shoppers arrive at your doorstep fully informed, price-aware, and highly protective of their time.
Written by:

Bernard Zimmermann is the founding director of POS Solutions, a leading point-of-sale system company with 45 years of industry experience, now retired and seeking new opportunities. He consults with various organisations, from small businesses to large retailers and government institutions. Bernard is passionate about helping companies optimise their operations through innovative POS technology and enabling seamless customer experiences through effective software solutions.